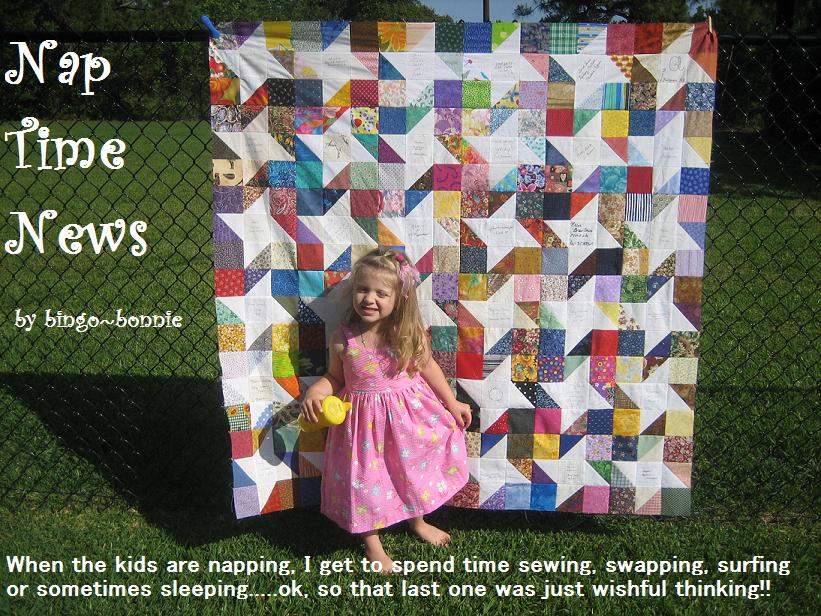

I'll be thankful that Nora is finally getting better and trying hard to work with me... just wish I could get PT to show some pearly whites!
So... you wanna a peek at what I've been finishing up?? Remember my posts a couple months ago about the "Pink Project?"

I've not really told much about it, but at the end of January a lady I go to church with, stopped me one Sunday and said, "I need your phone number b/c I have something I need to call and talk to you about..."
LONG STORY SHORT = MaryJo wanted me to make a quilt. One that she and her friends could use as a Prayer Quilt Project for her dearest friend who was nearing the end of her battle with cancer. The only details about her friend was that her favorite color was pink and that she loved flowers.
I hate that I couldn't get this done for her sooner. I really did begin it as soon as I could (after all my other pots on the stove were taken care of and mailing deadlines were met.) However, a part of the reason it took a little longer to get it done, was b/c I had thought about using a blanket to "birth it" but then decided against that - so had to wait until I could have time to make it back over to the town next door to go to JoAnn's and buy batting and backing fabric. (which was the same as the border fabric)
*Have I told you that every weekend Nora's softball teams participates in OUT OF TOWN Tournaments that take up the whole weekend/s!! So just heading off to the fabric store on any given day is not a reality. :/
Finished as in "full of safety pins to keep it together while they pray and tie knots in it using the twisted pearl cotton thread at each intersection."
I know some would argue that you should not bind a quilt until the quilting or tieing is complete but I went ahead and sewed the binding down so that when it's done, it's done. They don't have to return to me to finish it.

A few weeks ago I watched this tutorial VIDEO on youTube for the Quick Easy Mitered Binding Tool and just knew that I had to order it and have it on hand to use for this project and for other future projects!!! It really did the trick and I made the most AWESOME PERFECT CORNERS I've ever made in my lifetime!! But you'll just have to believe me b/c I forgot to take photos of them today.
This past Sunday I ran into MaryJo again after mass and promised her that her pink quilt was nearly complete and I promised to deliver on Monday afternoon so today I worked and worked until it was complete and drove it to her home after I picked Nora up from school.
I used an old spool to wind the Pearl Cotton up onto - thinking that might prevent it from getting tangled. Something else that I gave to her with the quilt was these little "cheater needles." Have you heard of them? Clover makes them and so does Fons & Porter. I bought my first package from Leah Day --- (CLICK HERE FOR INFO and DEMO on how they're used) They're awesome! ;)

I think MaryJo and her friends will appreciate NOT having to thread their needles! ;) Now I just need to remember to buy myself some more.
I'm just kicking myself for not taking photos of the whole pink twister quilt - but it was raining outside Monday and I just wanted to get it done and delivered. I'm sure I'll be using this binding again & again so there WILL be photos - maybe even a step by step on how I do it. :) so stay tuned.
Here's Nora week before last when she went with me to buy the batting and backing. Isn't she looking so big in this outfit. I usually refuse to shop for clothing for her that even slightly resembles "teenager, tween, or as we also call it - divorced single momma style" after all she's a CHILD she should dress like one... but this black flowly style top and pant set was on clearance for only $4. Can't beat that! :)


 If you haven't seen it yet - you MUST! It's that good. For all ages! Perfect for an Easter gift!
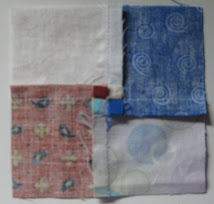
What do I have planned for my next project?? To finish this little one's eyes...

Until next time....
Love from Texas!


How very nice of you to make that pink quilt for the church ladies. It is lovely and I'm sure they are very appreciative.
ReplyDeleteYour precious angel, Nora, is growing up so much, right before our very eyes! You re so kind and generous with your time and talent to tackle such a project as this prayer quilt, it will certainly be prayed over again and again. I MUST checkout that mitering tool for corners, thank you for the recommendation. Happy Easter!
ReplyDelete