
I'm always amazed with the bloggers I follow - at how fast they are with their projects. I sure admire them and wish I could turn out as many completed projects - or 1/8 as many!!!
Remember the last post I shared about cleaning my machine and changing my needle.. I actually did that on Sunday but just got around to posting... so the following actually took place over 3 days and not just one ;)
Since Sunday, I've been sewing and sewing and sewing..... And today well I'm happy to report that all of the sewing and cutting is DONE! :)

There is no telling how many lines I sewed - I didn't dare pause to count them... if fear that I'd never get back to sewing but I have to admit.. it looked pretty good to see this small corner left to do - that meant I was almost done with this part!!! ;)
I have often wondered if someone with a longarm could do this faster/easier than I do. A lot of time is spent pushing and pulling the huge piece of fabric thru my machine back and forth --- and back and forth at least a hundred times.... I would so love to hire a longarmer to sew some of these up for me. Maybe one day I'll share a photo of all the fabric I've purchased to make these "Bonnie Blankets" with....
I don't know if I'll ever get around to making a tutorial but I did take a few photos...

See the bright plaid? that will be the side that I cut up and after it is washed will frey and curl up nicely and be like chenille. At least I hope it will.. this fabric is like a homespun which I've never used before so I'm really not sure how it will turn out. I had 1 or 2 small pleats in it - which on the cut up side is FINE ;) it will never show up later....

and did I mention this one is HUGE? Even I'll be able to cover up head to toe with it - so thankfully Nora will never out grow this one! ;)


These strips are the same stuff as the cutting mat. I bought them at a quilt store in Augusta, GA when I lived there. I forget how much? but there are 3 sizes and I use the middle size the most often.


I use to cut all the way out to the ends.. but have learned it's not as hard to deal with when you go to sew the binding on later if you leave a inch or two uncut along the edges... and see that second photo above? You can't even tell there was a pleat in there can ya? ;)

Well just as I was gonna get down and square it up .... Nora came to see... and I'm sad b/c she really hurt my feelings about it. She said she didn't want it - to throw it in the garbage. :( She doesn't like it b/c it's too big so she says... *sigh* She will be 5 in just a few weeks and is already acting like a 15 year old. :/ *sigh*

I don't recall buying anything to use to bind it with last year when we bought the Tinkerbell and plaid fabrics... but I shopped my stash and I have a large piece of light blue same as Tinkerbell's wings that I can use. ;)
So the next step is to cut the binding and attach... then after it's on - I can WASH it up and see what it's gonna turn out like!!! :) and if Nora doesn't like it, I'll claim it as MINE!
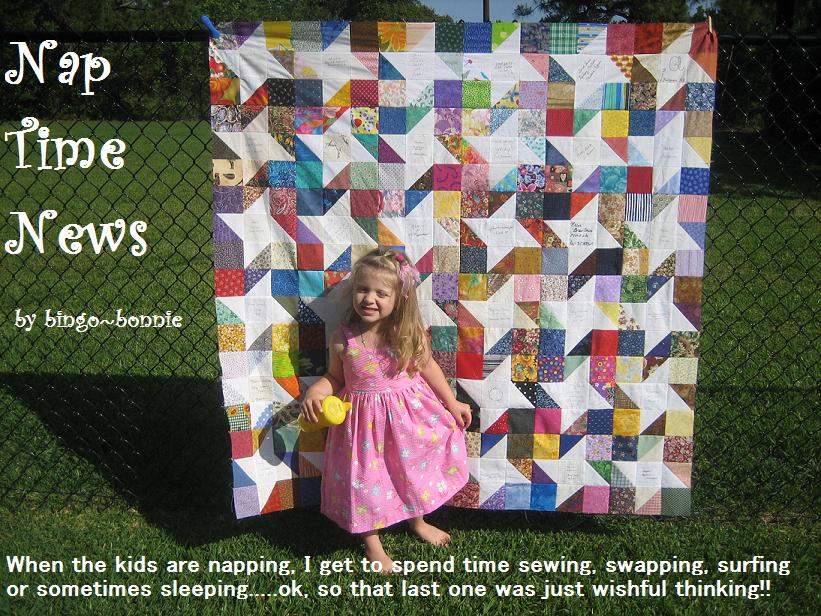
Love from Texas!


love your blog...so many fun things
ReplyDeleteHow many layers of the plaid did you use? I'm sure once it is washed and fluffed Nora will have a change of heart~ might be too late then~ maybe it will be Olivia's quilt to hang on to or yours! ;-)
ReplyDeleteI bought a chenille cutter intending to give this a try on the longarm about 2 years ago! Long diagonal lines would be difficult -- a lot of rolling and hard to keep straight but I think zig zag lines would work...of course, you couldn't use your mat strips but if I remember correctly, the cutter I bought doesn't need a mat under it.
ReplyDelete