I tried to reply to your comment but your email is not set up... when I hit reply I noticed the email address was noreply-comment@blogger.com and so I really don't know if you will ever check back in the comments or not... I decided to make a quick post about your request on how to make me a siggy block and the requirements.
Of course I'd love to have a siggy from you! Especially since you have been in both my noodle swap last year and this year's minis!! ;)
You can choose which ever you type of block would like to do and that is a great idea to include it in your next mini mailing to me! :) What fun it will be to open a swap package and get a nice hostess surprise inside!!!
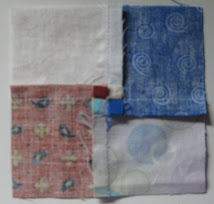
First type: 6.5" Snowball Block easy peasy!
- use a 6.5" white or beige fabric for the center. This is where you will sign the center. I'd prefer your HGTV name, real name, city and state, using a pegma pen. ;)
- (be careful with WOW white on whites or TOT tan on tan as if it's a printed on design the fabric then your siggy pen won't absorb the ink in those areas.)
- then you cut four 2.5" squares (all the same or each different doesn't matter) and draw a diagonal on the back and put them in each corner and sew on that line and press. Don't worry about trimming, I'll do that later.
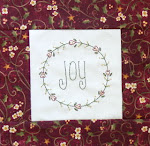
Second type: 12.5" Friendship Star Block also easy but a little more planning.
- the best way to give directions is to refer you to Monica Hohn's website where she has written directions for the Friendship Star Block.
- Where she has used blue as her background, please make yours scrappy - each a different medium to dark tone of fabric.
- Where she has used yellow as the star, please use either a white or cream fabric. And if you'd like for the light to all be the same or each piece different that is up to you :)
- In the center square of the star sign your HGTV name, real name and city and state with a pigma pen. Thanks!
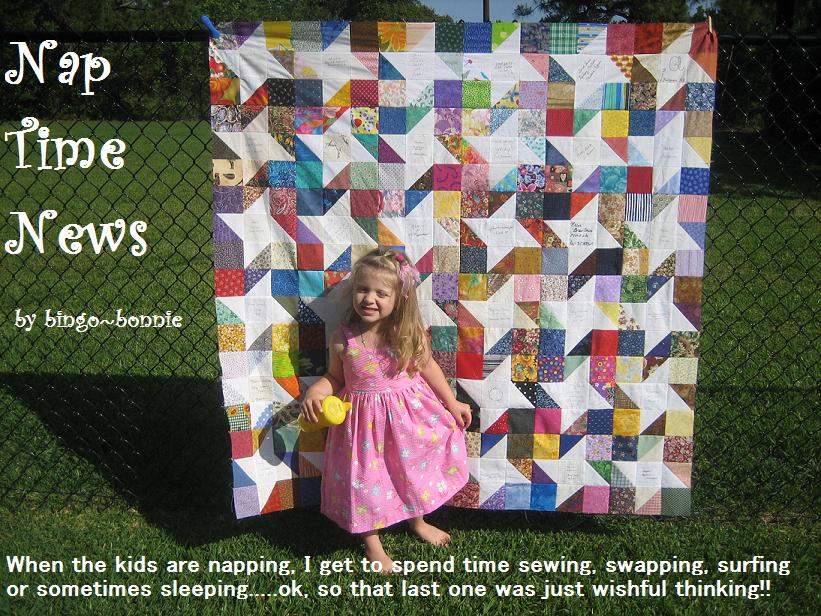
Gotta run for now - 3:00 nap time here! Hope this was helpful.
Love from Texas! ~bonnie


Oh wow, a special post just for me! Thanks for the instructions Bonnie. I will make a friendship star to include with my minis for you. Hopefully that will get you a little closer to getting your quilt to proper snuggling size. I agree, it is a MUST to be able to tuck the feet underneath.
ReplyDelete